Killing Floor 2 Server with Google Cloud Platform
So, you want to play Killing Floor 2 (KF2) with your just your buddies. The Matchmaking gives you trolls, and server take-over option for private matches always put you into games with 200+ ping or just flat out doesn’t work. You don’t want to pay some company for an overpriced server, either!
So what do you do? You setup a KF2 server in Google Cloud Platform (GCP). Why GCP? Well because a lot of folks already have a gmail, it’s an easy thing to get started with.

- GCP Console Details
- Setting up the KF2 Server
- You’re all done!
- How To Update Your Server
- Bonus! How to add custom maps.
- 2023 Updates:
- References / Other Guides:
GCP Console Details
Step 1:
Create a new Project Called “KF2 Server”
Step 2:
Compute > Compute Engine > Create Instance
- Name: KF2-Server
- Region: Select a datacenter location nearest to you + your friends
- Machine Configuration: I went with N1-standard-1 (1 vCPU, 3.75 GB Memory), but feel free to go up to N1-standard-2 if you want more performance (You shouldn’t need this.)
- Boot Disk: Change > Ubuntu > 18.04 TLS (Or Higher)
- 10GB is too small to run the server, I recommend going 50 GB + to be safe.
- Firewall: Allow HTTP/HTTPS Traffic (Optional, but I did it anyway)
> Create
Step 3:
Networking > VPC network > External IP Address
Locate your compute instance, and set your IP to ‘Static’
Networking > VPC network > > Firewall Rules > “Create Firewall Rule”
- Name: kf2
- Type: Allow
- Targets Tag: ‘kf2’
- IP Ranges: 0.0.0.0/0
- TCP: 8080
- UDP: 7777, 27015, 20560, 123
Compute > Compute Engine > ‘KF2-Server’ Edit > Network Tags
- Add ‘kf2’ as a network tag and save
Setting up the KF2 Server
SSH into your newly created GCP Compute Box and perform the following. If you don’t know how to use cli or don’t understand these commands, that’s okay, but you should probably do some lite googling first to be safe.
$Bash
sudo apt update
sudo apt install lib32gcc1 lib32stdc++6 -y
mkdir steam
cd steam
wget "http://media.steampowered.com/installer/steamcmd_linux.tar.gz"
tar -xvzf steamcmd_linux.tar.gz`
./steamcmd.sh
$Steam
login anonymous
force_install_dir /home/<Your Username>/steam/killingfloor
app_update 232130 validate
quit
After the server is installed, you’ll want to change a few basic config files.
cd killingfloor/KFGame/Config
Using vim or nano, change the following config files to your liking:
KFWeb.ini
    [IpDrv.WebServer]
    bEnabled=TRUE

LinuxServer-KFGame.ini
    [Engine.AccessControl]
    AdminPassword=SuperSecretAdminPassword
    GamePassword=SuperSecretPassword

    [Engine.GameReplicationInfo]
    ServerName=Whatever You Want It To Be Called

    [KFGame.KFGameInfo]
    ServerMOTD=Your GCP Server!
    WebsiteLink=
    ClanMotto=

LinuxServer-KFEngine.ini
    [Engine.GameEngine]
    bUsedForTakeover=FALSE
To start the server, simply run:
./Binaries/Win64/KFGameSteamServer.bin.x86_64 kf-bioticslab
To save on GCP Fees simply Ctrl+C the server process and shut it (stop) the VM down until next time you want to play. To be sure you’ve done it right, your VM should have a grey ‘stop’ logo - if you see green - you may be getting charged!
You’re all done!
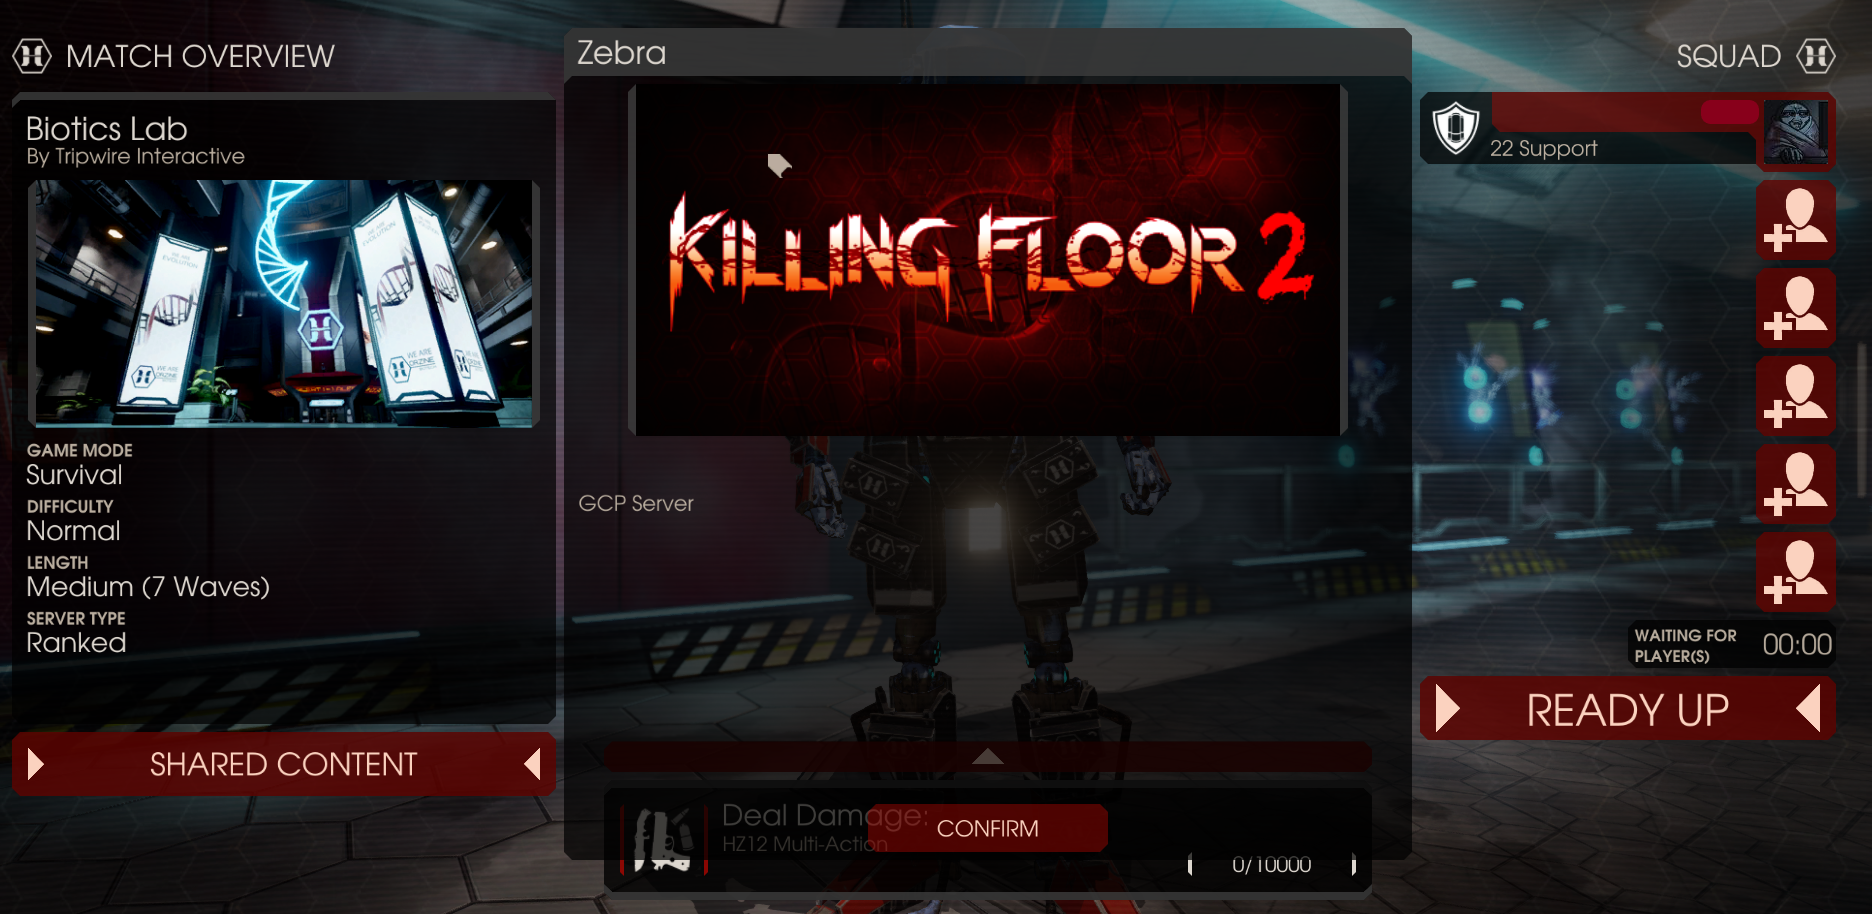
With the server running, you should be able to find your server (I named mine ‘Zebra’) in the Public Browser, and you should be able to join with the passwords you set.
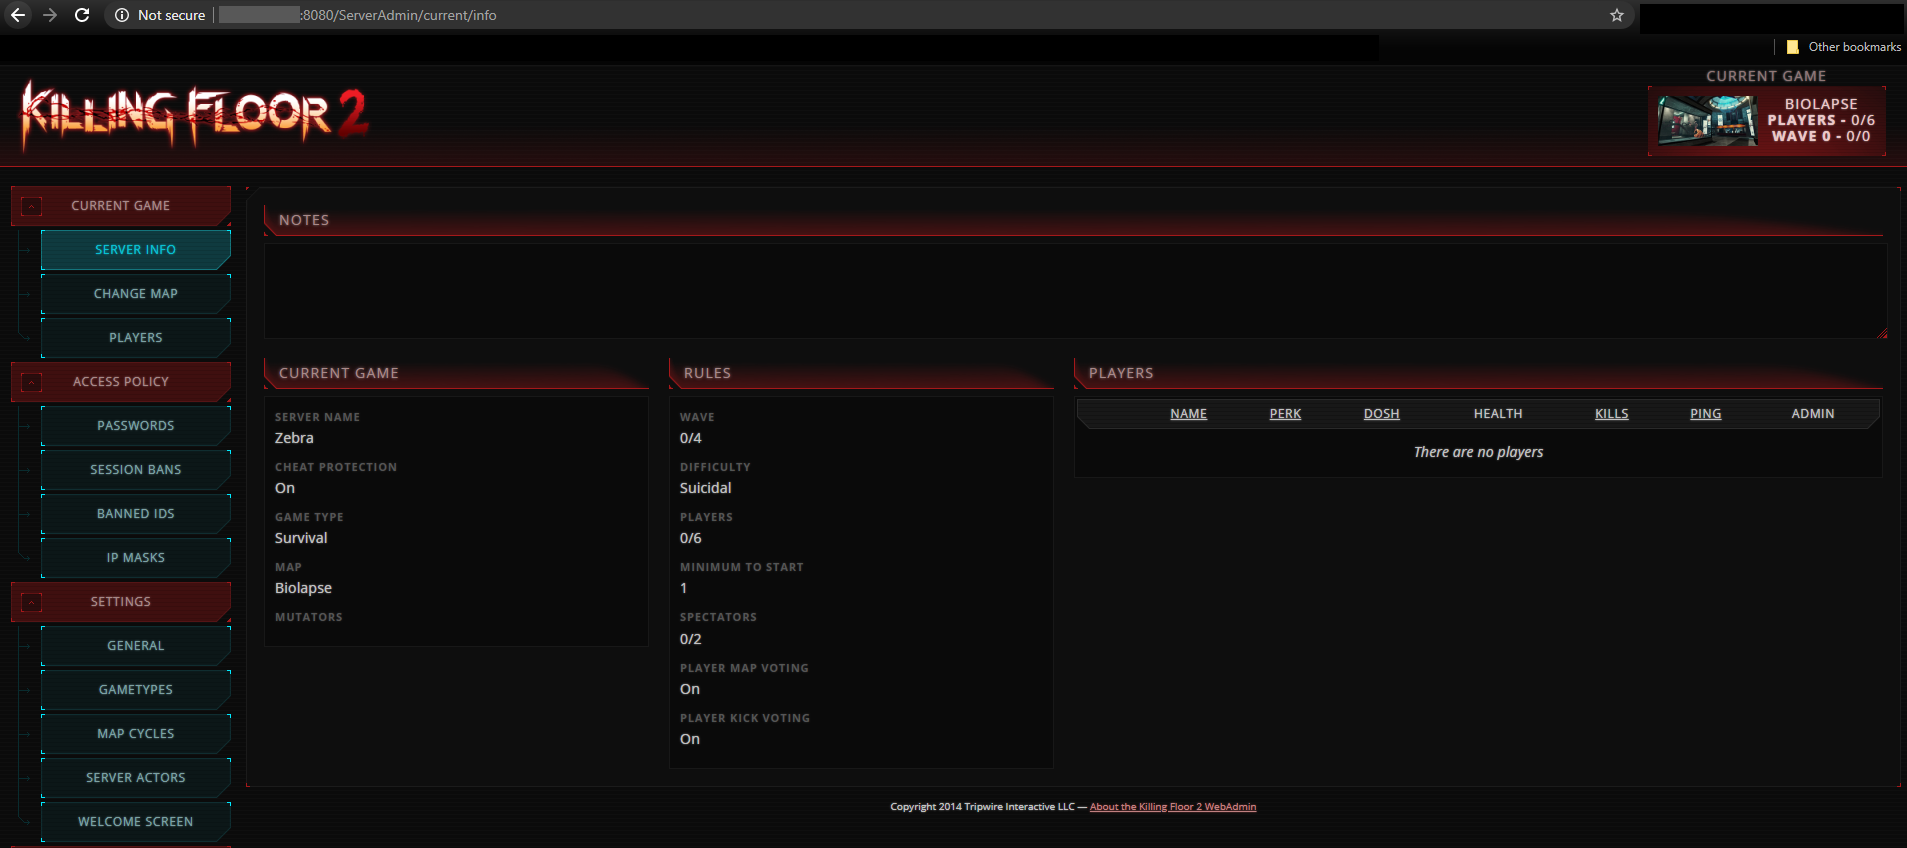
To manage your server simply navigate to the web admin page in your browser:
http://<Your GCP Static IP>:8080/ServerAdmin/
Login with ‘admin’ and the password you set for AdminPassword in KFGame.ini


How To Update Your Server
If you’re like me, you might have ~6+ months go by between you booting this server up. If so, it is likely that KF2 will have updated, forcing you to also update your server. Fear not, the steps are pretty simple to get back to playing.
SSH back into your GCP VM -
cd steam
sudo ./steamcmd.sh
login anonymous
force_install_dir /home/<Your Username>/steam/killingfloor
app_update 232130
After this, you may need to re-enable the Web Interface and restart your sever binary (See instructions above).
If you are also like me, your initial 40GB HDD provisioned for your VM may not be cutting it [SteamCMD Error 0x202] (Esp. with custom maps added).
To update that…
Compute Engine > VM Instances > [Your KF2 VM] > Boot disk > Edit
Once you’ve added additional storage, save and follow these instructions from Google.
Easy Mode:
sudo su
df -Th
growpart /dev/sda 1
resize2fs /dev/sda1
Make sure your partition is actually sda1 (via df command) before running.
Bonus! How to add custom maps.
Step 1: Find a map, and grab the URL.
URL: https://steamcommunity.com/sharedfiles/filedetails/?id=670421536
The bit we want is the Workshop ID # - 670421536, in this case.
Linux Servers apparently can’t make their own Cache folder.
$ mkdir -p KFGame/Cache
Add the following entries to the bottom of config files:
LinuxServer-KFEngine.ini
    [OnlineSubsystemSteamworks.KFWorkshopSteamworks]
    ServerSubscribedWorkshopItems=670421536  // KF-Deck17_V1 (This is A Comment)

LinuxServer-KFGame.ini
    [KF-Deck17_V1 KFMapSummary]
    MapName=KF-Deck17_V1
    ScreenshotPathName=UI_MapPreview_TEX.UI_MapPreview_Placeholder
To add more maps, simply add another entry for each config. (You do not need to repeat the [OnlineSubsystem…] header for KFGame.ini, though. You can confirm the name of the map for the KFGame.ini entry by checking the name via
ls KfGame/Cache/670421536/0/BrewedPC/
Don’t forget to add the Map to the Server ‘Map Cycle’ via the Web Admin Page.
More detailed instructions can be found here.
2023 Updates:
GCP changed the UI a little, but it’s mostly the same as before.
Spin up a box I did: e2-medium, us-central1-a, debian-11, 100gb disk, external ipv4 ephemeral NIC. You still need to add the FW rule for the server ports as described and add the tag, along with allow http/https.
ping 8.8.8.8
sudo su
sudo apt update
sudo dpkg --configure -a
sudo apt-get install lib32gcc-s1
mkdir steam && cd steam
curl -sqL "https://steamcdn-a.akamaihd.net/client/installer/steamcmd_linux.tar.gz" | tar zxvf -
./steamcmd.sh
quit
pwd
./steamcmd.sh
force_install_dir /home/<your_path>/steam/killingfloor
login anonymous
app_update 232130 validate
quit
For reference on disk size, the KF2 server downloaded ~33 GB. So 100gb might be overkill, but it’s annoying to re-size disks, etc. Use this page for help: https://developer.valvesoftware.com/wiki/SteamCMD#Manually
KFWeb.ini is now DefaultWeb.ini KFGame.ini is now DefaultGame.ini KFEngine.ini is now DefaultEngine.ini
As always, make sure you shut down / stop the instance when you’re not playing.

